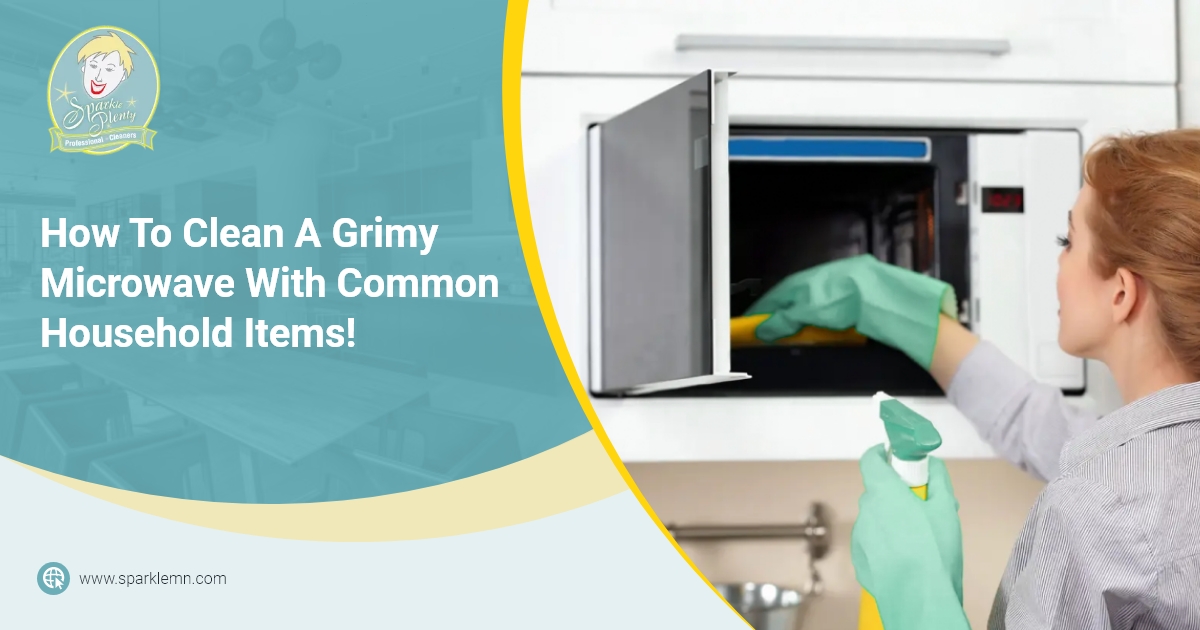
If your microwave looks more like the interior of the blender after your morning smoothie, then cleaning is way overdue. Although dealing with the stuck-on grime may seem challenging, you can easily tackle it with everyday items—no need to spend an extra dime!
Keep reading to learn more about how to leave your messy microwave spotless!
Step #1. Take out and wash the turntable
Overflowing boiling liquids tend to end up in the turntable, making it one of the dirtiest parts of your microwave if not cleaned ASAP. Luckily, you can take this glass disk out to wash easily!
Use a kitchen sponge and warm soapy water to clean the turntable in your sink. If you struggle to remove the grime, use a medium-bristled toothbrush instead. After removing the dirt, leave the turntable drying on the dish rack while you clean the rest of your microwave.
Pro-tip: If your turntable is just slightly grimy, avoid the hassle and put it in the dishwasher on a gentle cycle.
Step #2. Remove stuck-on food
It is crucial you get rid of food gunk stuck to the microwave walls before continuing. Otherwise, you’ll spend more time than necessary cleaning your beloved appliance.
If the stains are fresh (or haven’t dried up), wipe them with a slightly dampened, lint-free cloth. However, if the food bits are firmly stuck, you can use a plastic spatula or scraper and a little elbow grease to remove them.
Step #3. Prepare a baking soda cleaning solution
You obviously won’t like pesky chemicals near your food! But which natural alternative should you pick? Baking soda works wonderfully to tackle greasy stains and absorb odors, making it an excellent choice.
Make a potent anti-grease cleaning solution by mixing equal parts of baking soda, dish soap, and warm water inside a spray bottle—easy as that. Don’t forget to shake it to combine the ingredients well!
Step #4. Wipe the grime away
When wet wiping, food crumbs can get re-settled on other parts of your microwave. So, first, use a dry wipe to sweep away food bits lying around your appliance.
Once no more crumbs are left, spray a generous amount of your DIY solution all over the microwave’s interior and wait ten minutes. Just be careful near the vent holes, as the solution could leak and cause your appliance to malfunction.
After the wait, wipe the grime from the ceiling to the floor using a kitchen sponge dampened with warm water. If, at any point, the sponge gets too dirty, rinse it before continuing. Lastly, use a damp, lint-free cloth to rinse your microwave.
Pro-tip: Use a medium-bristled toothbrush to clean places your kitchen sponge can’t easily reach (like corners or slits).
Step #5. Dry your microwave thoroughly
Finally, you only have to dry your microwave. However, if you’re considering using the appliance itself to remove the remaining water, don’t; it could leave white spots where the water drops were.
Instead, use a clean microfiber cloth to dry the microwave thoroughly. Once done, return the turntable, and your microwave will be good to go!
Can you use vinegar to clean your microwave?
You may have heard of a way to clean your microwave using vinegar, so why did the previous method not include it? Although vinegar is also safe to use, it won’t clean heavy grime very well. Therefore, we recommend using this method only if your microwave needs light cleaning.
Are you short on time? Let us take over your cleaning chores!
If you simply don’t have the time to clean your appliance, our experienced cleaners can tackle the job easily! We offer microwave cleaning as a part of our thorough house cleaning services. Book with us and see for yourself why Sparkle Plenty Cleaners are the best in Maplewood, MN!


